


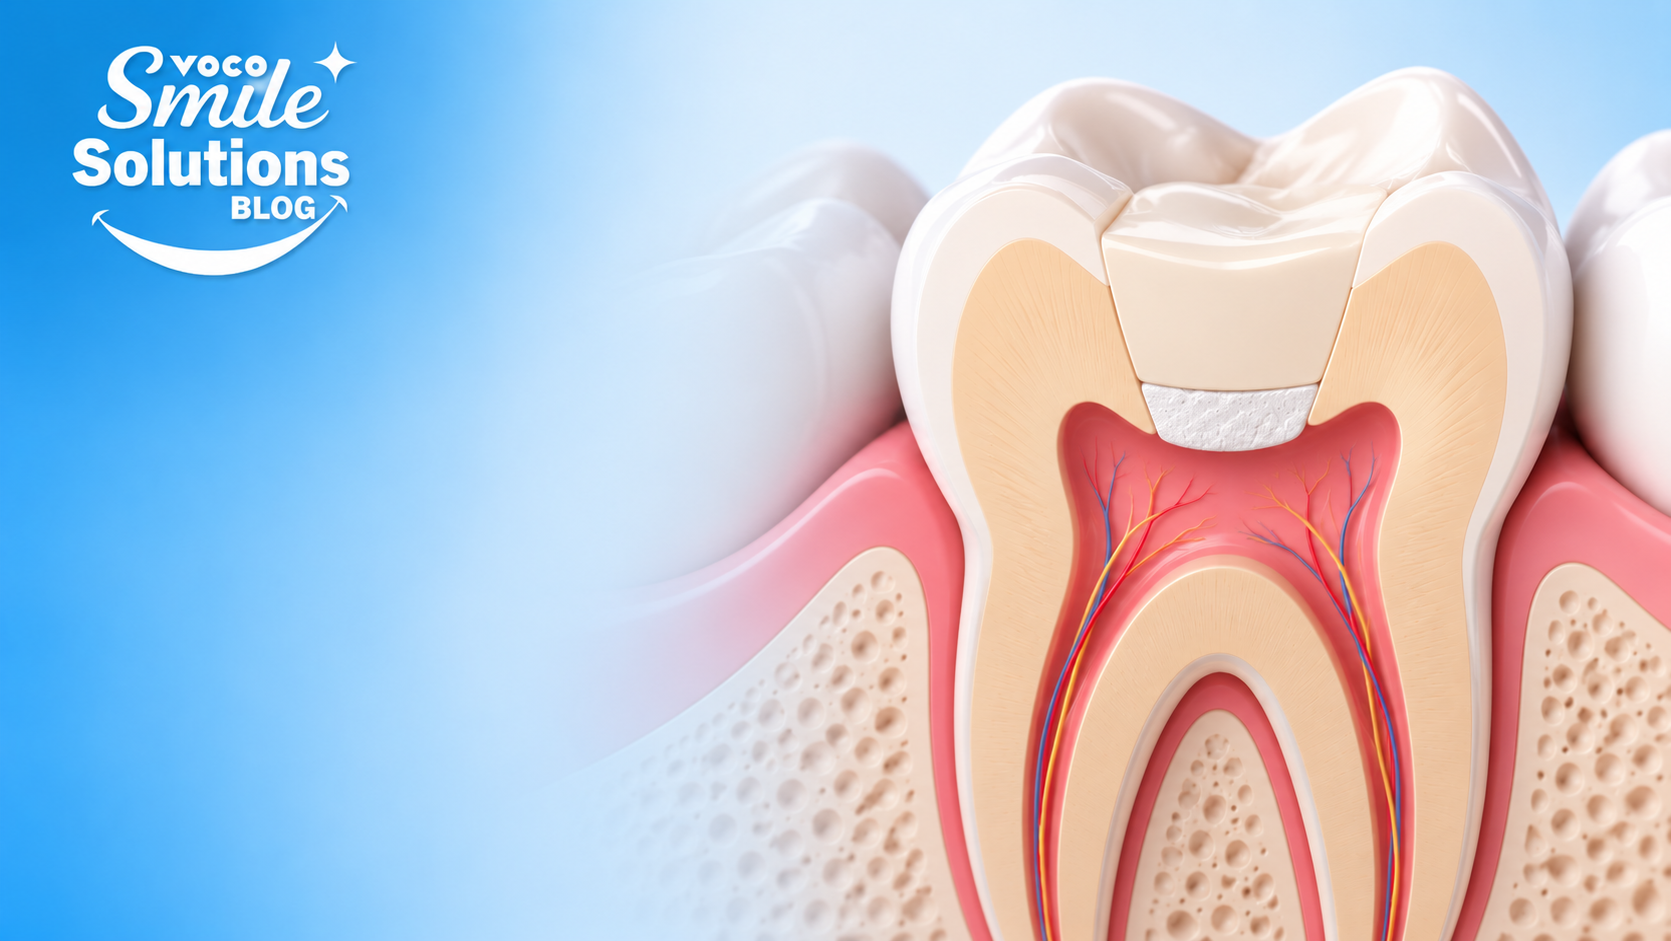
Deep caries do not always make the treatment decision straightforward. When a tooth remains responsive, but excavation reveals a small pulpal exposure, the clinician must quickly determine whether the case still supports preservation, or whether the findings point toward endodontic treatment.
In the clinical case presented here, Dr. Alejandra Darrás of Bolivia treated a deeply carious molar in a young patient whose positive pulp responses suggested that vitality could still be maintained. As caries removal progressed, small bleeding points confirmed direct pulpal exposure, shifting the procedure from routine restorative care to vital pulp treatment using a direct pulp-capping approach.
The case offers a clear look at the clinical sequence that followed: caries detection, controlled excavation, direct pulp capping, immediate placement of an overlying liner, development of the restorative base, and completion of the indirect restoration after a two-week observation period. It also highlights a practical aspect of the workflow, the ability to continue directly with the restorative procedure without waiting for an extended MTA setting phase.
The following clinical images document each stage of Dr. Darrás’ approach, from the initial assessment and controlled caries removal through pulp capping, immediate sealing, and completion of the indirect restoration.
Step 1: How to Assess the Tooth and Treatment Planning?
The preoperative clinical image (Fig. 1) shows an extensive cavitated lesion involving the occlusal surface of the molar. The accompanying radiograph (Fig. 2) provides additional information about the depth of the lesion and its relationship to the pulp chamber.
Although the caries extended deeply into the tooth, the positive pulp responses supported consideration of a conservative treatment approach. Rather than proceeding directly to root canal treatment, Dr. Darrás planned to remove the carious tissue carefully and evaluate the condition of the pulp as treatment progressed.
As with any vital pulp therapy procedure, the decision to continue conservatively depended on the clinical findings encountered following isolation and excavation.
Dr. Darrás noted, “In a case like this, the depth of the carious lesion is only part of the decision. The clinical assessment of pulpal status is what guides us in determining whether preserving pulp vitality remains a predictable treatment option, which should always be our goal whenever clinically appropriate.”
Step 2: Using Caries-Detecting Dye as an Excavation Aid
After rubber dam isolation, caries-detecting dye was applied to help evaluate the remaining affected areas (Fig. 3).
Caries-detecting dyes can serve as an adjunct during excavation, particularly in large or irregular preparations where visual and tactile assessment may be more challenging. Staining must still be interpreted alongside clinical judgment. The objective is not necessarily to remove every stained area aggressively, especially near the pulp, but to establish an appropriate endpoint while avoiding unnecessary removal of tooth structure.
In this case, the dye helped to assess the extent of the lesion and guide continued excavation.
Step 3: Close Proximity to the Pulp
As caries removal continued, the preparation reached very close proximity to the pulp (Fig. 4). Small bleeding points were present after excavation, confirming a direct pulpal exposure.
Based on the positive pulp responses and the clinical findings observed during treatment, the choice was made to proceed with direct pulp capping.
At this stage, careful management of the operative field is critical. The exposed tissue must be treated with minimal additional trauma, bleeding must be appropriately managed, and the pulp-capping material must be placed precisely over the exposure.


Step 4: Direct Pulp Capping With MTA vpt
MTA vpt (VOCO), a mineral trioxide aggregate-based pulp-capping material, was mixed and placed over the exposed area (Fig. 5). As shown in the clinical image, the material was localized over the exposure and adjacent deep dentin rather than used to fill the entire preparation.
The purpose of this step was to establish a protective calcium silicate-based layer over the vital pulp while preserving sufficient space for the restorative materials that would follow.
Dr. Darrás shared, “One thing I appreciate about MTA vpt is that I can cover it immediately after placement and continue with the restoration. I don’t have to stop the procedure and wait for a prolonged setting period. When I’m managing the pulp and building the restorative foundation in the same appointment, that makes the workflow much more efficient.”
This can be particularly useful when pulp protection and the restorative foundation are being completed during the same appointment.
Step 5: Sealing the MTA Layer With Ionoseal
Following placement of MTA vpt, Dr. Darrás covered the area with Ionoseal (VOCO), a light-cured glass ionomer composite liner (Fig. 6).
The Ionoseal layer protected the pulp-capping material and established a sealed foundation within the deepest portion of the preparation. Because the overlying material could be placed immediately, the procedure continued directly from pulp capping to sealing without waiting for MTA vpt to complete a conventional setting phase.
This transition is clinically important. The outcome of vital pulp therapy depends not only on the material placed over the exposure, but also on protecting the treated area from contamination and establishing a reliable coronal seal.
Step 6: Building the Restorative Base
Once the deeper portion of the preparation had been sealed, the restorative base, or biobase, was built during the same appointment.
The completed base (Fig. 7) replaced missing internal tooth structure and provided a stable foundation for the planned indirect restoration. It also protected the treated tooth during the observation period.
The patient was monitored for two weeks before proceeding with the indirect restorative phase.
Final Restoration and Follow-Up
The final clinical image (Fig. 8-9) shows the completed indirect restoration in place. The tooth’s anatomy, occlusal surface, esthetics, and overall structure were re-established, allowing it to return to function.
Continued evaluation remains essential after vital pulp therapy. Monitoring the patient’s symptoms, pulp responses, radiographic findings, and the integrity of the coronal restoration helps determine whether vitality has been maintained over time.
Dr. Darrás stated, “Preserving pulp vitality is not simply about placing a material over a pulp exposure. It requires appropriate case selection, careful tissue management, control of contamination, the use of a reliable pulp-capping material, and an effective coronal seal. Ultimately, the goal is not only to maintain pulp vitality, but also to restore the tooth’s structure, function, and aesthetics.”
This case from Dr. Alejandra Darrás demonstrates a conservative approach to managing deep caries when the clinical findings support preservation of the pulp. It also illustrates how immediate coverage of MTA vpt can allow the clinician to move efficiently from direct pulp capping to sealing and restorative base placement within one continuous workflow.
Learn more about MTA vpt, an MTA dental material developed for direct and indirect vital pulp therapy.